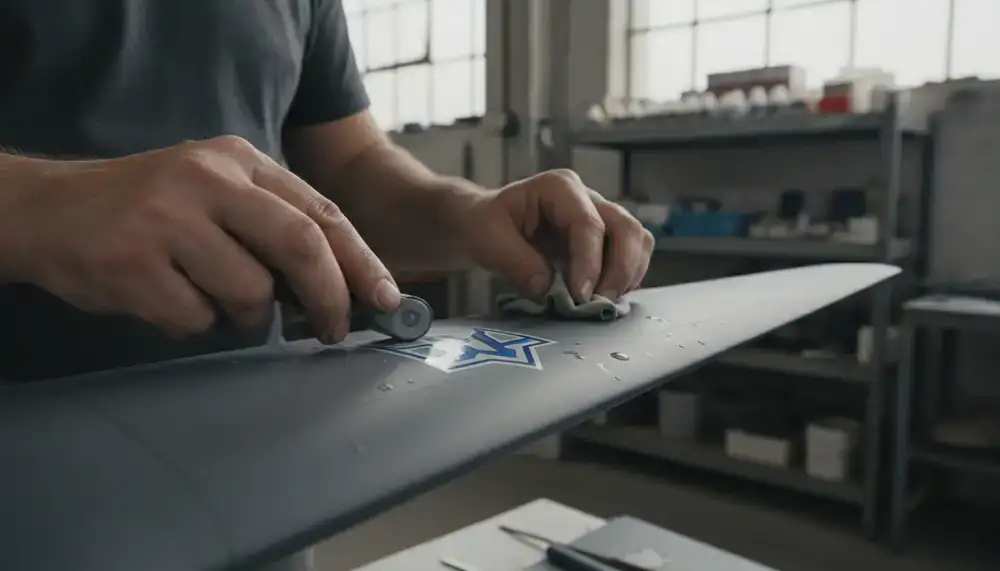
Phase 01: Archival Research
Before a single line is drawn in CAD, we locate original factory maintenance manuals, blueprints, and photographic records. We measure surviving museum airframes to verify cross-section profiles and mechanical tolerances.
At AeroCraft Models, we turn aviation history into great model kits you can build. From historic biplanes to modern jets, our kits provide a fun and accurate building experience for everyone.

Model aviation requires more than simply gluing plastic parts together. It demands a deep understanding of the structural engineering that allowed humanity to conquer the skies.
Our team consists of aerospace historians, industrial designers, and master modelers. We pore over archival blueprints and technical schematics to ensure our kits reflect absolute fidelity. Every rivet pattern, panel line overlap, and control surface hinge is meticulously accounted for in our master tooling.
Before a single line is drawn in CAD, we locate original factory maintenance manuals, blueprints, and photographic records. We measure surviving museum airframes to verify cross-section profiles and mechanical tolerances.
Our engineering team translates two-dimensional schematics into precise 3D models. We simulate the assembly sequence digitally to ensure parts fit with positive alignment, reducing the need for extensive sanding or filling during the build.
Using CNC-milled steel molds, we execute high-pressure injection molding. This guarantees crisp, flash-free sprues, razor-thin trailing edges on wings, and deeply recessed panel lines that capture washes beautifully.
We source high-grade, structurally stable polystyrene that responds predictably to standard model cements. The plastic is formulated to be easily scribed and sanded without fracturing or tearing.
Scale thickness matters. Our premium boxings include photo-etched brass frets for instrument panels and seatbelts, alongside precision-turned metal pitot tubes for ultimate structural realism.
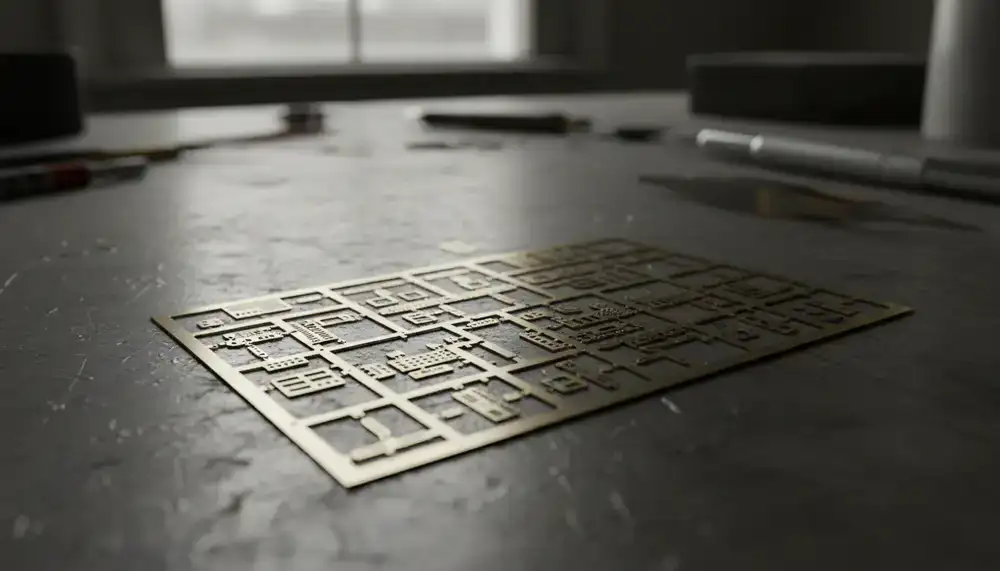
Practical insights from our master builders.
Always wash sprues in warm, soapy water before assembly. This removes the microscopic layer of mold-release agent left over from injection, ensuring primer and cement bond aggressively to the raw plastic.
For fuselage halves, dry-fit the components and secure them with masking tape. Run extra-thin liquid cement along the seam line. Capillary action will draw the solvent deep into the join, creating a welded, seamless bond.
Apply decals over a high-gloss clear coat. Matte surfaces trap air micro-bubbles under the carrier film, causing "silvering". Once set with setting solution, seal the decals with your final chosen finish coat.